Authentication Guide
Getting started with authentication is a 3-step process:
- Set up a landing page.
- Acquire credentials from CRO.
- Verify credentials work.
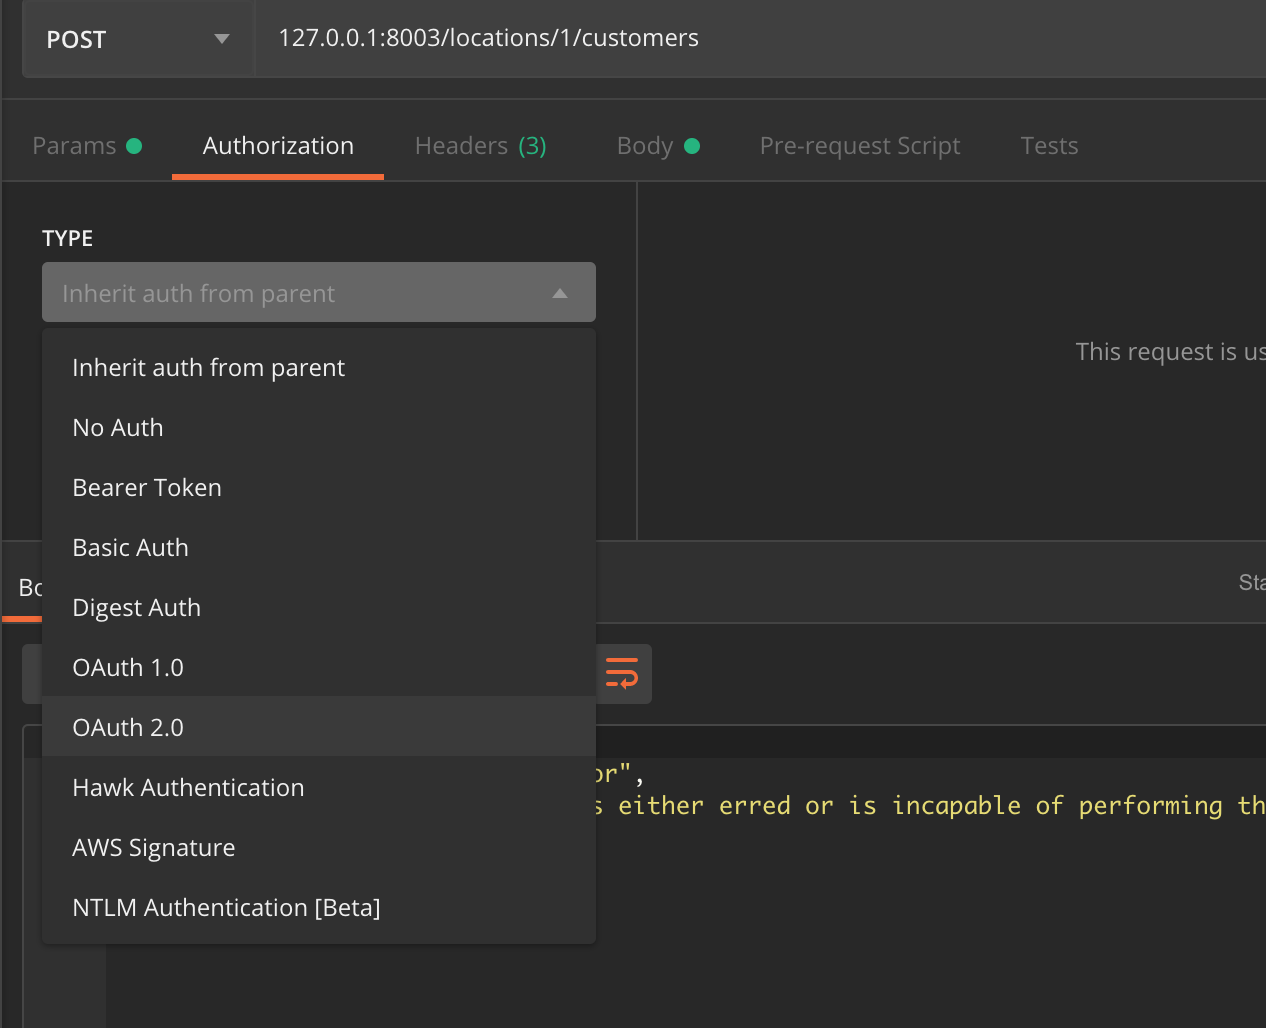
The CRO API uses OAuth 2.0. It supports Authorization Code and Refresh Token grants and the Authorization Code and PKCE flows.
At this time the Client Credentials grant (use of passwords) is not supported and will not be supported in the future.
Landing Page
The landing page is just a URL that your users will be redirected to after successful authentication. You must provide this URL to CRO prior to getting your credentials because this URL is used to provision your account.
Acquire Credentials from CRO
Once you have a landing URL, contact our development team at develop@crosoftware.net to have your credentials issued.
Verify Credentials Work
With your account provisioned, now you're ready to make everything work. The easiest way to get started is to use an app like Postman. Postman has built in support for OAuth testing, but any HTTP client tool should work.
Request Access Token
Assuming you're using Postman, create a new request and click on the "Authentication" tab.
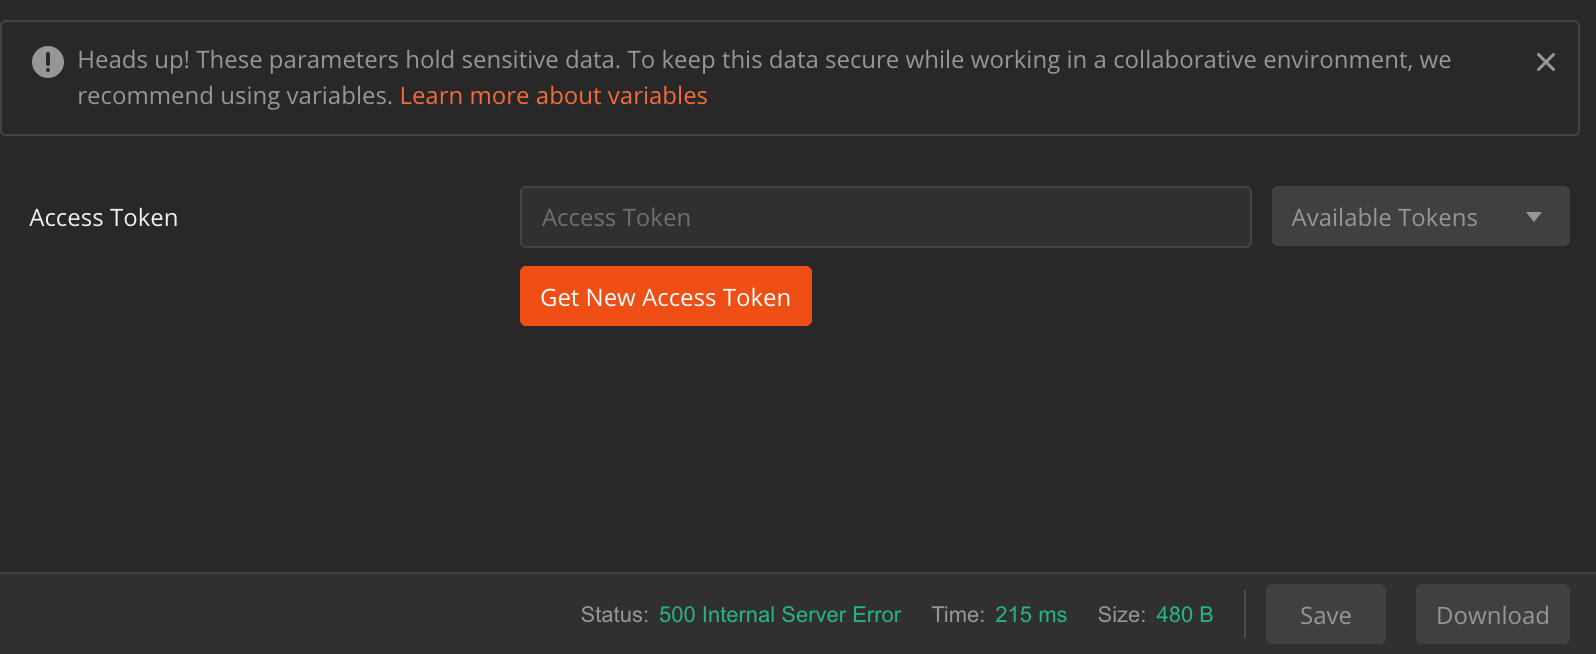
Then click on "Request New Access Token".
Now fill out the dialog with the credentials and URLs given to you by the CRO development team. The "State" field must be at least 8 characters and may be whatever text you choose.
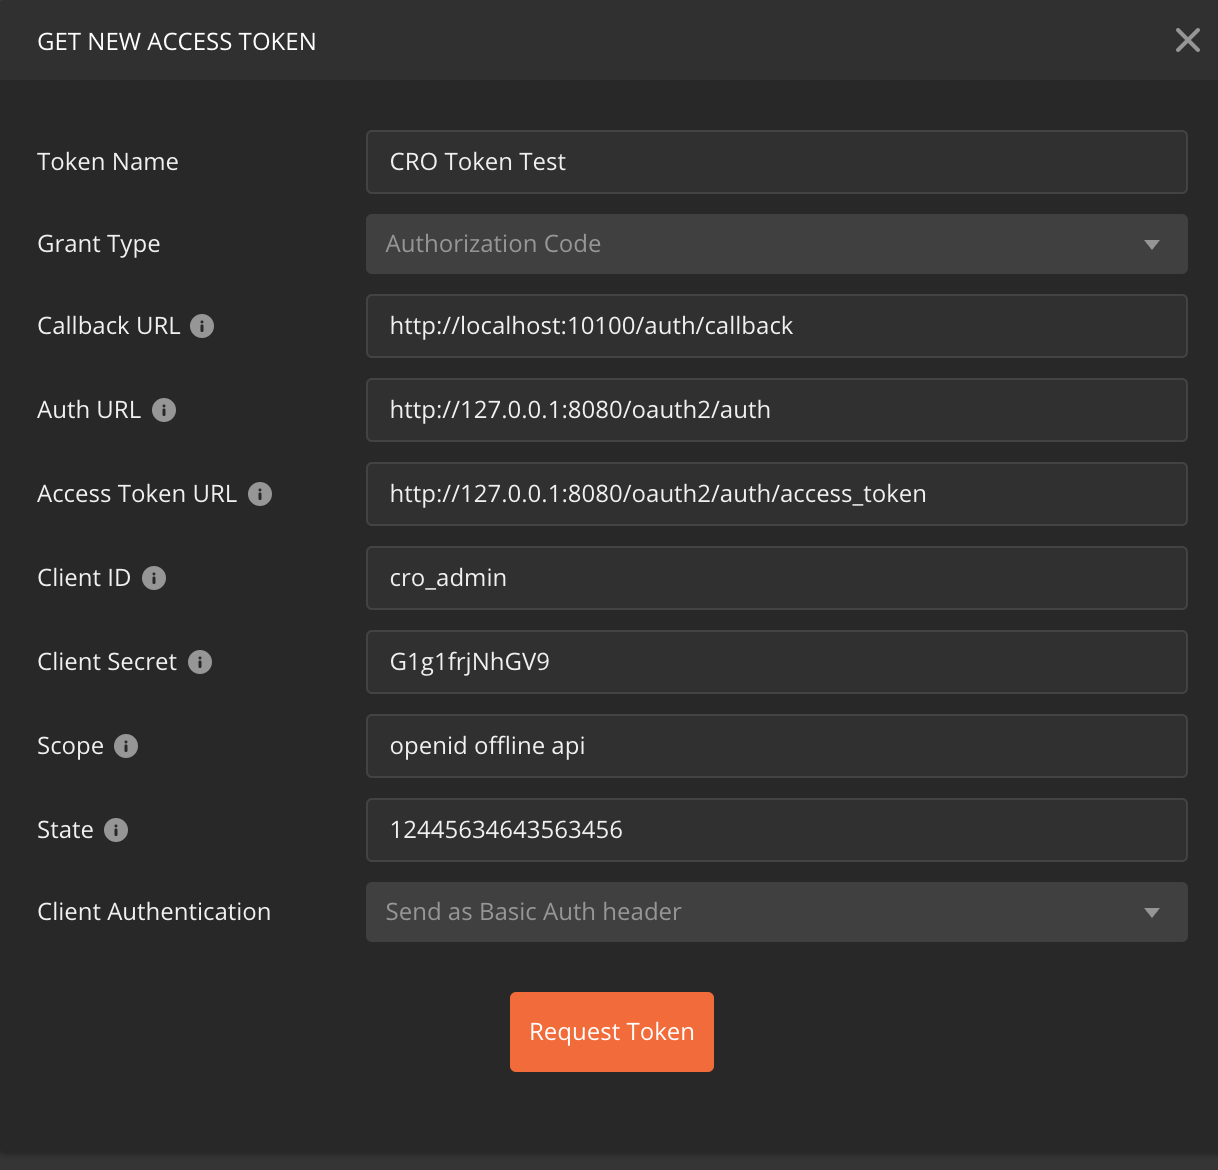
Click "Request Token" and you will be redirected to a login page.
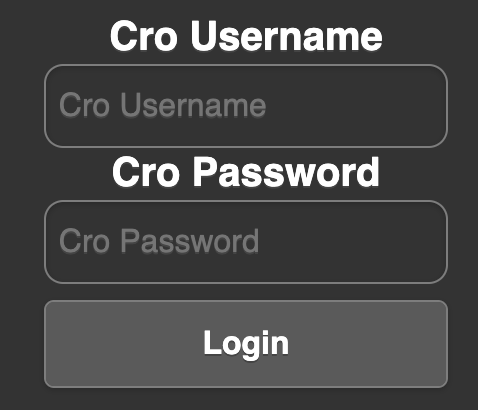
Upon successful login, you will be presented with your new access token.
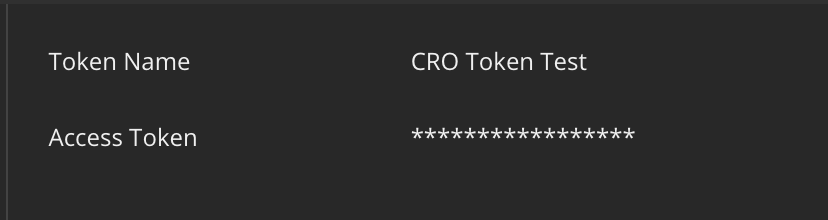
This token may now be used for accessing the CRO API. Include it as an Authorization bearer header with requests requiring it (most).
Conclusion
Congrats! Now you've got access to the CRO API. If you are still struggling with these steps, reach out to us